
Hey folks!
In this guide I'll show a process I use to paint textured leather (or
cloth - examples and notes on that will be towards the end).


My social media posts with these two thin coats unexpectedly blew up, so
naturally it prompted the creation of this guide. Process itself relies
on a drybrushing/stippling hybrid to establish initial texture and
spots, which is then finished off with some manual highlights.
Since drybrushing obviously picks up texture very well, a good miniature
preparation is essential.
And, since drybrushing is obviously a rather
messy technique, plan your painting stages accordingly (do it first, if
possible) and use appropriately sized brush.
Brushes I use for drybrushing are mainly very cheap synthetic ones, both
flat and round.
I didn't use any real-life reference for painting those, so interpret
this guide as a showcase of "artistic representation" and a method of
painting leather that doesn't necessarily aim to be "ultra-realistic".


Finished 133rd Lambdan Lions Tempestor Primes...

...and paints used on leather coats.

Paints used for the tutorial example below.
Now, onto the step-by-step itself. Guide will focus on the brown leather.


1. Basecoat. Dark Rust.

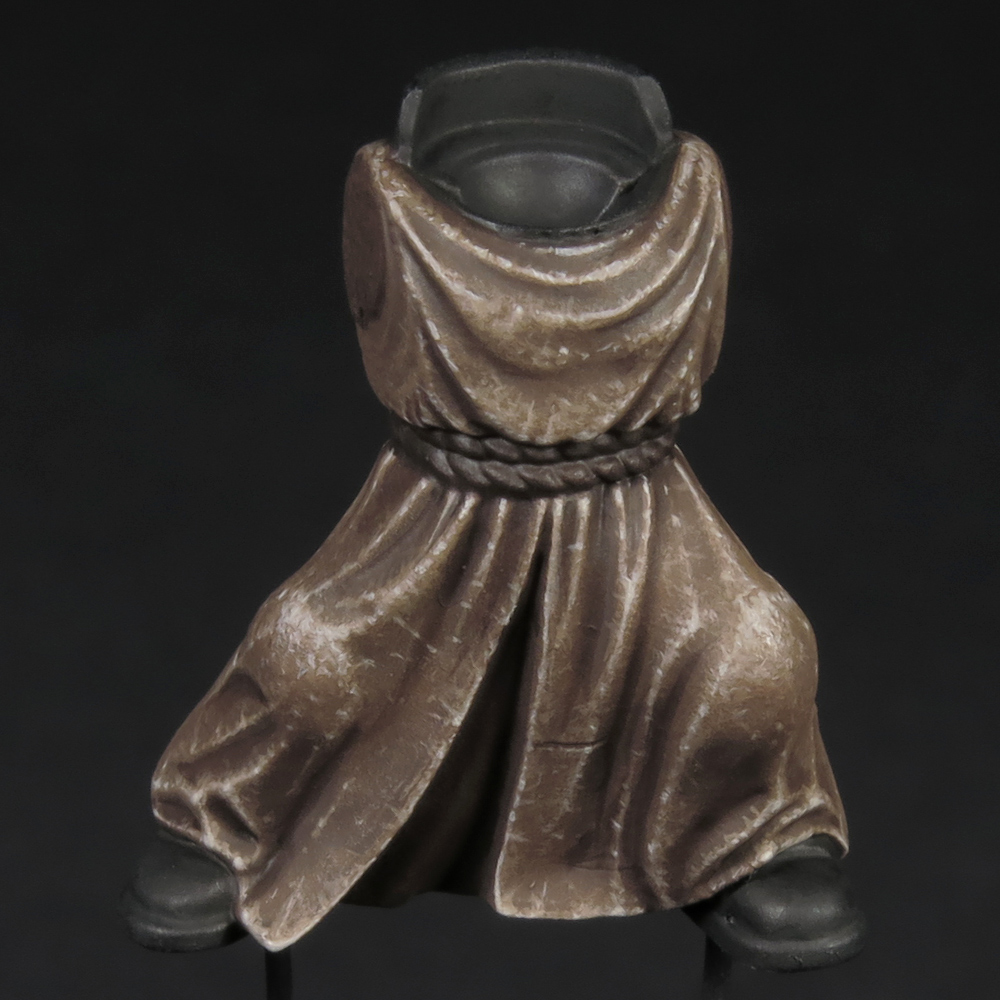
2. First drybrush. Flat Brown.
Idea here is obviously to go over all the raised areas, but
simultaneously with "traditional" drybrushing the stippling technique is
also used - "poke" the brush into the detail where you feel like it.
You can be quite generous at this step. 
2.1. Quick exaggerated demonstration of said drybrushing.
For further drybrush step(s) you'll need to be more gentle and precise.Some notes about the guide's process as a whole will be at the end.

3. Second drybrush. Flat Brown + German Pale Brown 1:1.
Same as before, but a bit more gentle and selective. I picked colors "on
a whim" and this turned out a bit too muted (I wasn't sure whether pure
Pale Brown would be too bright), so I did another drybrush next.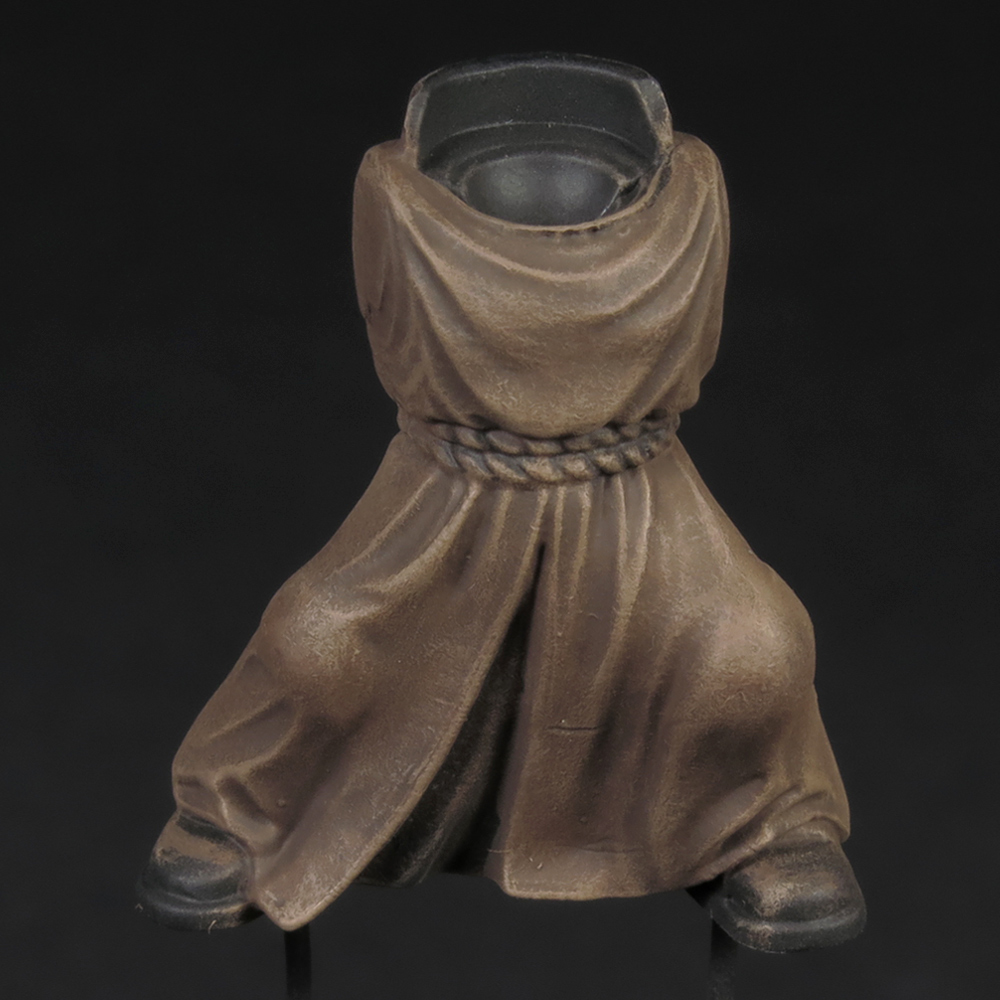
4. Third drybrush. German Pale Brown.
Much more gentle and selective.

5. First edge/textured highlight. German Pale Brown.
Drybrushing tends to be less opaque, so this step uses the same exact
color. It will show up, but will be quite muted, which is perfect here.Edge part should be self-explanatory - pick out the most prominent folds and edges.
Note: On clothes there definitely will be less pronounced folds, which you can't really "edge" highlight, and instead will need to "freehand" highlight lines. I can't really give a thinning ratio for the "perfect" paint consistency, but you shouldn't force the paint out during applications, it should flow off the brush fairly easily. Control the amount of paint on the brush by wiping the excess off on paper towel, while simultaneously twisting it to form a sharp point.
As for application, downward strokes (drawing the line towards you) work the best, so rotate the model around to get the best angle. Sometimes it's also easier to "dot" lines in, instead of using a continuous brushstroke motion - pretty much what I've done here exclusively.
Also, bracing my hands together and resting the wrists on the table works for me to minimize shaking.
To practice, you can prime a piece of plasticard and go to town. Try "dotting" lines in, quick "hashes", meticulous controlled lines, paint them next to each other as close as possible, vary the thickness, etc.
Textured part is basically "freehanding" and "dotting"/stippling random scratches and dots. On this particular stage you can be pretty messy and not care so much about how sharp or neat lines are, but try to not go overboard. Aim for areas where drybrush has done its thing, plus here and there in more shadowed areas.

6. Recess shading. Rhinox Hide.
Thin the paint down to a "wash"-ish consistency and define all recesses.
You can glaze some transitions into shadows as well. Some folds/areas
may take a few passes.On a similar model I'd also basecoat all remaining details prior and shade everything together.

7. Second edge/textured highlight. German Pale Brown + Off White ~2:1.
Same as before, only now you're essentially working with what you've
created in the previous step.Highlight edges as usual (less area), and highlight some created lines and dots by painting some dots on them.
8. Spot highlight. German Pale Brown + Off White ~1:1.
Basically just dots on most prominent spots, edges and corners.

9. Optional weathering. Vallejo German Grey, Skavenblight Dinge and GW
Stormvermin Fur.
Since robe on the test bit is at the ground level, and it's usually a
good idea to connect the model with its surroundings (aka basing), I've
glazed some greys to grime it up. Rest of the details are also quickly
painted.You can also use shades/washes, pigments or even something like Typhus Corrosion.

9.1. The back.

9.2. Front, but with matte varnish (Vallejo Premium Matte), to better
show how it all looks (as glazing dried a bit satin-y for some reason).

9.3. Same for the back.
And that's pretty much it. You can use this method to paint full-sized details (robes, capes), or smaller things like pouches, belts and whatnot - for those you might want to either avoid drybrushing (and just do textured manual highlights) or be very careful with it.
I've run a poll on twitter to pick a color to use in the guide for showcasing the process, and brown won, but technically you can use whatever colors you want. There were requests for traditional Dark Angels bone, purple, and I've also done done white and blue for good measure.

It was also pointed out by a few people that texture doesn't register as cloth, and instead looks more like stone, marble or parchment, which is true, I suppose, but replicating realistic cloth texture will require a lot more time and thought - either smooth surface blends (i.e. how "realistic cloth texture" would look in this scale) or deliberate criss-cross texturing are significantly harder to do than what is shown in the guide. I might explore textured cloth sometime in the future.
Bonus to that: you can paint stone, marble and parchment with the method, if it looks line any of those things to you.

Colors used for all 4 examples.

And, as another example, this Vindicare Assassin's suit was painted with
the similar drybrushing (less vigorous and pronounced) + further
detailing process (minus the random texturing).
So feel free to experiment with it. It's definitely a viable technique
where a little bit of texture is welcomed.
If you're really keen on drybrushing, there's a painter named Bohun (bohun_miniaturepainter on instagram), who might be one of the best in utilizing it to produce world-class pieces. What I do is mostly based on my own trials and errors, but thought it would be worth mentioning someone heaps better than me one might want to learn from.
Thanks for scrolling this far down and reading the guide, hope you'll
find it useful.
Keep painting and have fun!